


一、Openstack手动部署
openstack的介绍与部署
二、openstack一键部署
1、服务器环境需求可以连接外网
关闭防火墙
[root@localhost ~]# systemctl stop firewalld
[root@localhost ~]# systemctl disable firewalld
Removed /etc/systemd/system/multi-user.target.wants/firewalld.service.
Removed /etc/systemd/system/dbus-org.fedoraproject.FirewallD1.service.
[root@localhost ~]# systemctl status firewalld
● firewalld.service - firewalld - dynamic firewall daemon
   Loaded: loaded (/usr/lib/systemd/system/firewalld.service; disabled; vendor preset: enabled)
   Active: inactive (dead)
     Docs: man:firewalld(1)

Dec 31 02:29:07 localhost.localdomain systemd[1]: Starting firewalld - dynamic firewall daemon...
Dec 31 02:29:07 localhost.localdomain systemd[1]: Started firewalld - dynamic firewall daemon.
Dec 31 02:29:07 localhost.localdomain firewalld[999]: WARNING: AllowZoneDrifting is enabled. This is c>
Dec 31 02:30:42 localhost.localdomain systemd[1]: Stopping firewalld - dynamic firewall daemon...
Dec 31 02:30:43 localhost.localdomain systemd[1]: firewalld.service: Succeeded.
Dec 31 02:30:43 localhost.localdomain systemd[1]: Stopped firewalld - dynamic firewall daemon.
关闭selinux
[root@localhost ~]# setenforce 0
[root@localhost ~]# vim /etc/selinux/config
[root@localhost ~]# cat /etc/selinux/config

# This file controls the state of SELinux on the system.
# SELINUX= can take one of these three values:
#     enforcing - SELinux security policy is enforced.
#     permissive - SELinux prints warnings instead of enforcing.
#     disabled - No SELinux policy is loaded.
SELINUX=disabled  //将selinux设置为disabled
# SELINUXTYPE= can take one of these three values:
#     targeted - Targeted processes are protected,
#     minimum - Modification of targeted policy. Only selected processes are protected.
#     mls - Multi Level Security protection.
SELINUXTYPE=targeted
配置时间同步
[root@localhost ~]# yum -y install chrony
[root@localhost ~]# vim /etc/chrony.conf
server ntp.aliyun.com iburst
allow 192.168.6.0/24
[root@localhost ~]# systemctl start chronyd.service
[root@localhost ~]# systemctl enable chronyd.service
Created symlink /etc/systemd/system/multi-user.target.wants/chronyd.service → /usr/lib/systemd/system/chronyd.service
修改网卡信息使其可以联通外网
[root@localhost ~]# cat /etc/sysconfig/network-scripts/ifcfg-ens160
TYPE=Ethernet
PROXY_METHOD=none
BROWSER_ONLY=no
BOOTPROTO=static
DEFROUTE=yes
IPV4_FAILURE_FATAL=no
IPV6INIT=yes
IPV6_AUTOCONF=yes
IPV6_DEFROUTE=yes
IPV6_FAILURE_FATAL=no
NAME=ens160
UUID=d25b7479-b236-47bd-a803-7177c0f78b58
DEVICE=ens160
ONBOOT=yes
IPADDR=192.168.1.31
NETMASK=255.255.255.0
GATEWAY=192.168.1.1
DNS1=223.5.5.5
DNS2=223.6.6.6
[root@localhost ~]# nmcli c r
[root@localhost ~]# nmcli c d ens160 ;nmcli c up  ens160
Connection 'ens160' successfully deactivated (D-Bus active path: /org/freedesktop/NetworkManager/ActiveConnection/4)
Connection successfully activated (D-Bus active path: /org/freedesktop/NetworkManager/ActiveConnection/5)
[root@localhost ~]# ping www.baidu.com
PING www.baidu.com (198.18.1.180) 56(84) bytes of data.
64 bytes from 198.18.1.180 (198.18.1.180): icmp_seq=1 ttl=128 time=0.659 ms
64 bytes from 198.18.1.180 (198.18.1.180): icmp_seq=2 ttl=128 time=0.495 ms
64 bytes from 198.18.1.180 (198.18.1.180): icmp_seq=3 ttl=128 time=0.593 ms
配置yum源
[root@localhost yum.repos.d]# cd /etc/yum.repos.d/
[root@localhost yum.repos.d]# mkdir bak
[root@localhost yum.repos.d]# mv *.repo bak/
[root@localhost yum.repos.d]# curl -o /etc/yum.repos.d/CentOS-Base.repo https://mirrors.aliyun.com/repo/Centos-vault-8.5.2111.repo
[root@localhost yum.repos.d]# yum -y install glibc-langpack-en network-scripts
[root@localhost yum.repos.d]# systemctl stop NetworkManager && systemctl disable NetworkManager
[root@localhost yum.repos.d]# systemctl start network && systemctl enable network
[root@localhost yum.repos.d]# vim /etc/environment
LANG=en_US.utf-8
LC_ALL=en_US.utf-8
[root@localhost yum.repos.d]# vim yum.repo
[highavailability]
name=CentOS Stream 8 - HighAvailability
baseurl=https://mirrors.aliyun.com/centos/8-stream/HighAvailability/x86_64/os/
gpgkey=file:///etc/pki/rpm-gpg/RPM-GPG-KEY-centosofficial
gpgcheck=0
repo_gpgcheck=0
metadata_expire=6h
countme=1
enabled=1

[nfv]
name=CentOS Stream 8 - NFV
baseurl=https://mirrors.aliyun.com/centos/8-stream/NFV/x86_64/os/
gpgkey=file:///etc/pki/rpm-gpg/RPM-GPG-KEY-centosofficial
gpgcheck=0
repo_gpgcheck=0
metadata_expire=6h
countme=1
enabled=1

[rt]
name=CentOS Stream 8 - RT
baseurl=https://mirrors.aliyun.com/centos/8-stream/RT/x86_64/os/
gpgkey=file:///etc/pki/rpm-gpg/RPM-GPG-KEY-centosofficial
gpgcheck=0
repo_gpgcheck=0
metadata_expire=6h
countme=1
enabled=1

[resilientstorage]
name=CentOS Stream 8 - ResilientStorage
baseurl=https://mirrors.aliyun.com/centos/8-stream/ResilientStorage/x86_64/os/
gpgkey=file:///etc/pki/rpm-gpg/RPM-GPG-KEY-centosofficial
gpgcheck=0
repo_gpgcheck=0
metadata_expire=6h
countme=1
enabled=1

[extras-common]
name=CentOS Stream 8 - Extras packages
baseurl=https://mirrors.aliyun.com/centos/8-stream/extras/x86_64/extras-common/
gpgkey=file:///etc/pki/rpm-gpg/RPM-GPG-KEY-CentOS-SIG-Extras-SHA512
gpgcheck=0
repo_gpgcheck=0
metadata_expire=6h
countme=1
enabled=1

[extras]
name=CentOS Stream  - Extras
mirrorlist=http://mirrorlist.centos.org/?release=&arch=&repo=extras&infra=
#baseurl=http://mirror.centos.org///extras//os/
baseurl=https://mirrors.aliyun.com/centos/8-stream/extras/x86_64/os/
gpgcheck=0
enabled=1
gpgkey=file:///etc/pki/rpm-gpg/RPM-GPG-KEY-centosofficial

[centos-ceph-pacific]
name=CentOS - Ceph Pacific
baseurl=https://mirrors.aliyun.com/centos-vault/8-stream/storage/x86_64/ceph-pacific/
gpgcheck=0
enabled=1
gpgkey=file:///etc/pki/rpm-gpg/RPM-GPG-KEY-CentOS-SIG-Storage

[centos-rabbitmq-38]
name=CentOS-8 - RabbitMQ 38
baseurl=https://mirrors.aliyun.com/centos-vault/8-stream/messaging/x86_64/rabbitmq-38/
gpgcheck=0
enabled=1
gpgkey=file:///etc/pki/rpm-gpg/RPM-GPG-KEY-CentOS-SIG-Messaging

[centos-nfv-openvswitch]
name=CentOS Stream 8 - NFV OpenvSwitch
baseurl=https://mirrors.aliyun.com/centos-vault/8-stream/nfv/x86_64/openvswitch-2/
gpgcheck=0
enabled=1
gpgkey=file:///etc/pki/rpm-gpg/RPM-GPG-KEY-CentOS-SIG-NFV
module_hotfixes=1

[baseos]
name=CentOS Stream 8 - BaseOS
baseurl=https://mirrors.aliyun.com/centos/8-stream/BaseOS/x86_64/os/
gpgkey=file:///etc/pki/rpm-gpg/RPM-GPG-KEY-centosofficial
gpgcheck=0
repo_gpgcheck=0
metadata_expire=6h
countme=1
enabled=1

[appstream]
name=CentOS Stream 8 - AppStream
baseurl=https://mirrors.aliyun.com/centos/8-stream/AppStream/x86_64/os/
gpgkey=file:///etc/pki/rpm-gpg/RPM-GPG-KEY-centosofficial
gpgcheck=0
repo_gpgcheck=0
metadata_expire=6h
countme=1
enabled=1

[centos-openstack-victoria]
name=CentOS 8 - OpenStack victoria
baseurl=https://mirrors.aliyun.com/centos/8-stream/cloud/x86_64/openstack-victoria/
#baseurl=https://repo.huaweicloud.com/centos/8-stream/cloud/x86_64/openstack-yoga/
gpgcheck=0
enabled=1
gpgkey=file:///etc/pki/rpm-gpg/RPM-GPG-KEY-CentOS-SIG-Cloud
module_hotfixes=1

[powertools]
name=CentOS Stream 8 - PowerTools
#mirrorlist=http://mirrorlist.centos.org/?release=&arch=&repo=PowerTools&infra=
baseurl=https://mirrors.aliyun.com/centos/8-stream/PowerTools/x86_64/os/
gpgcheck=0
enabled=1
gpgkey=file:///etc/pki/rpm-gpg/RPM-GPG-KEY-centosofficial
安装openstack-packstatck软件包
yum -y install openstack-packstack生成应答文件
packstack --gen-answer-file=/packstack.txt修改应答文件
97 CONFIG_COMPUTE_HOSTS=192.168.1.31

323 CONFIG_KEYSTONE_ADMIN_PW=123456

1169 CONFIG_PROVISION_DEMO=n

60 CONFIG_HEAT_INSTALL=y

909 CONFIG_NEUTRON_OVN_BRIDGE_IFACES=br-ex:ens160
开始安装openstack
[root@localhost yum.repos.d]# packstack --answer-file=/packstack.txt
Welcome to the Packstack setup utility

The installation log file is available at: /var/tmp/packstack/20250101-220642-khrhlr8f/openstack-setup.log

Installing:
Clean Up                                             [ DONE ]
Discovering ip protocol version                      [ DONE ]
Setting up ssh keys                                  [ DONE ]
Preparing servers                                    [ DONE ]
Pre installing Puppet and discovering hosts' details [ DONE ]
Preparing pre-install entries                        [ DONE ]
Setting up CACERT                                    [ DONE ]
Preparing AMQP entries                               [ DONE ]
Preparing MariaDB entries                            [ DONE ]
Fixing Keystone LDAP config parameters to be undef if empty[ DONE ]
Preparing Keystone entries                           [ DONE ]
Preparing Glance entries                             [ DONE ]
Checking if the Cinder server has a cinder-volumes vg[ DONE ]
Preparing Cinder entries                             [ DONE ]
Preparing Nova API entries                           [ DONE ]
Creating ssh keys for Nova migration                 [ DONE ]
Gathering ssh host keys for Nova migration           [ DONE ]
Preparing Nova Compute entries                       [ DONE ]
Preparing Nova Scheduler entries                     [ DONE ]
Preparing Nova VNC Proxy entries                     [ DONE ]
Preparing OpenStack Network-related Nova entries     [ DONE ]
Preparing Nova Common entries                        [ DONE ]
Preparing Neutron API entries                        [ DONE ]
Preparing Neutron L3 entries                         [ DONE ]
Preparing Neutron L2 Agent entries                   [ DONE ]
Preparing Neutron DHCP Agent entries                 [ DONE ]
Preparing Neutron Metering Agent entries             [ DONE ]
Checking if NetworkManager is enabled and running    [ DONE ]
Preparing OpenStack Client entries                   [ DONE ]
Preparing Horizon entries                            [ DONE ]
Preparing Swift builder entries                      [ DONE ]
Preparing Swift proxy entries                        [ DONE ]
Preparing Swift storage entries                      [ DONE ]
Preparing Heat entries                               [ DONE ]
Preparing Heat CloudFormation API entries            [ DONE ]
Preparing Gnocchi entries                            [ DONE ]
Preparing Redis entries                              [ DONE ]
Preparing Ceilometer entries                         [ DONE ]
Preparing Aodh entries                               [ DONE ]
Preparing Puppet manifests                           [ DONE ]
Copying Puppet modules and manifests                 [ DONE ]
Applying 192.168.1.31_controller.pp
192.168.1.31_controller.pp:                          [ DONE ]
Applying 192.168.1.31_network.pp
192.168.1.31_network.pp:                             [ DONE ]
Applying 192.168.1.31_compute.pp
192.168.1.31_compute.pp:                             [ DONE ]
Applying Puppet manifests                            [ DONE ]
Finalizing                                           [ DONE ]

 **** Installation completed successfully ******

Additional information:
 * Parameter CONFIG_NEUTRON_L2_AGENT: You have chosen OVN Neutron backend. Note that this backend does not support the VPNaaS plugin. Geneve will be used as the encapsulation method for tenant networks
 * File /root/keystonerc_admin has been created on OpenStack client host 192.168.1.31. To use the command line tools you need to source the file.
 * To access the OpenStack Dashboard browse to http://192.168.1.31/dashboard .
Please, find your login credentials stored in the keystonerc_admin in your home directory.
 * The installation log file is available at: /var/tmp/packstack/20250101-220642-khrhlr8f/openstack-setup.log
 * The generated manifests are available at: /var/tmp/packstack/20250101-220642-khrhlr8f/manifests
访问:http://192.168.1.31/dashboard
查看登录密码
[root@localhost yum.repos.d]# cat /root/keystonerc_admin
unset OS_SERVICE_TOKEN
    export OS_USERNAME=admin
    export OS_PASSWORD='123456'
    export OS_REGION_NAME=RegionOne
    export OS_AUTH_URL=http://192.168.1.31:5000/v3
    export PS1='[\u@\h \W(keystone_admin)]\$ '

export OS_PROJECT_NAME=admin
export OS_USER_DOMAIN_NAME=Default
export OS_PROJECT_DOMAIN_NAME=Default
export OS_IDENTITY_API_VERSION=3
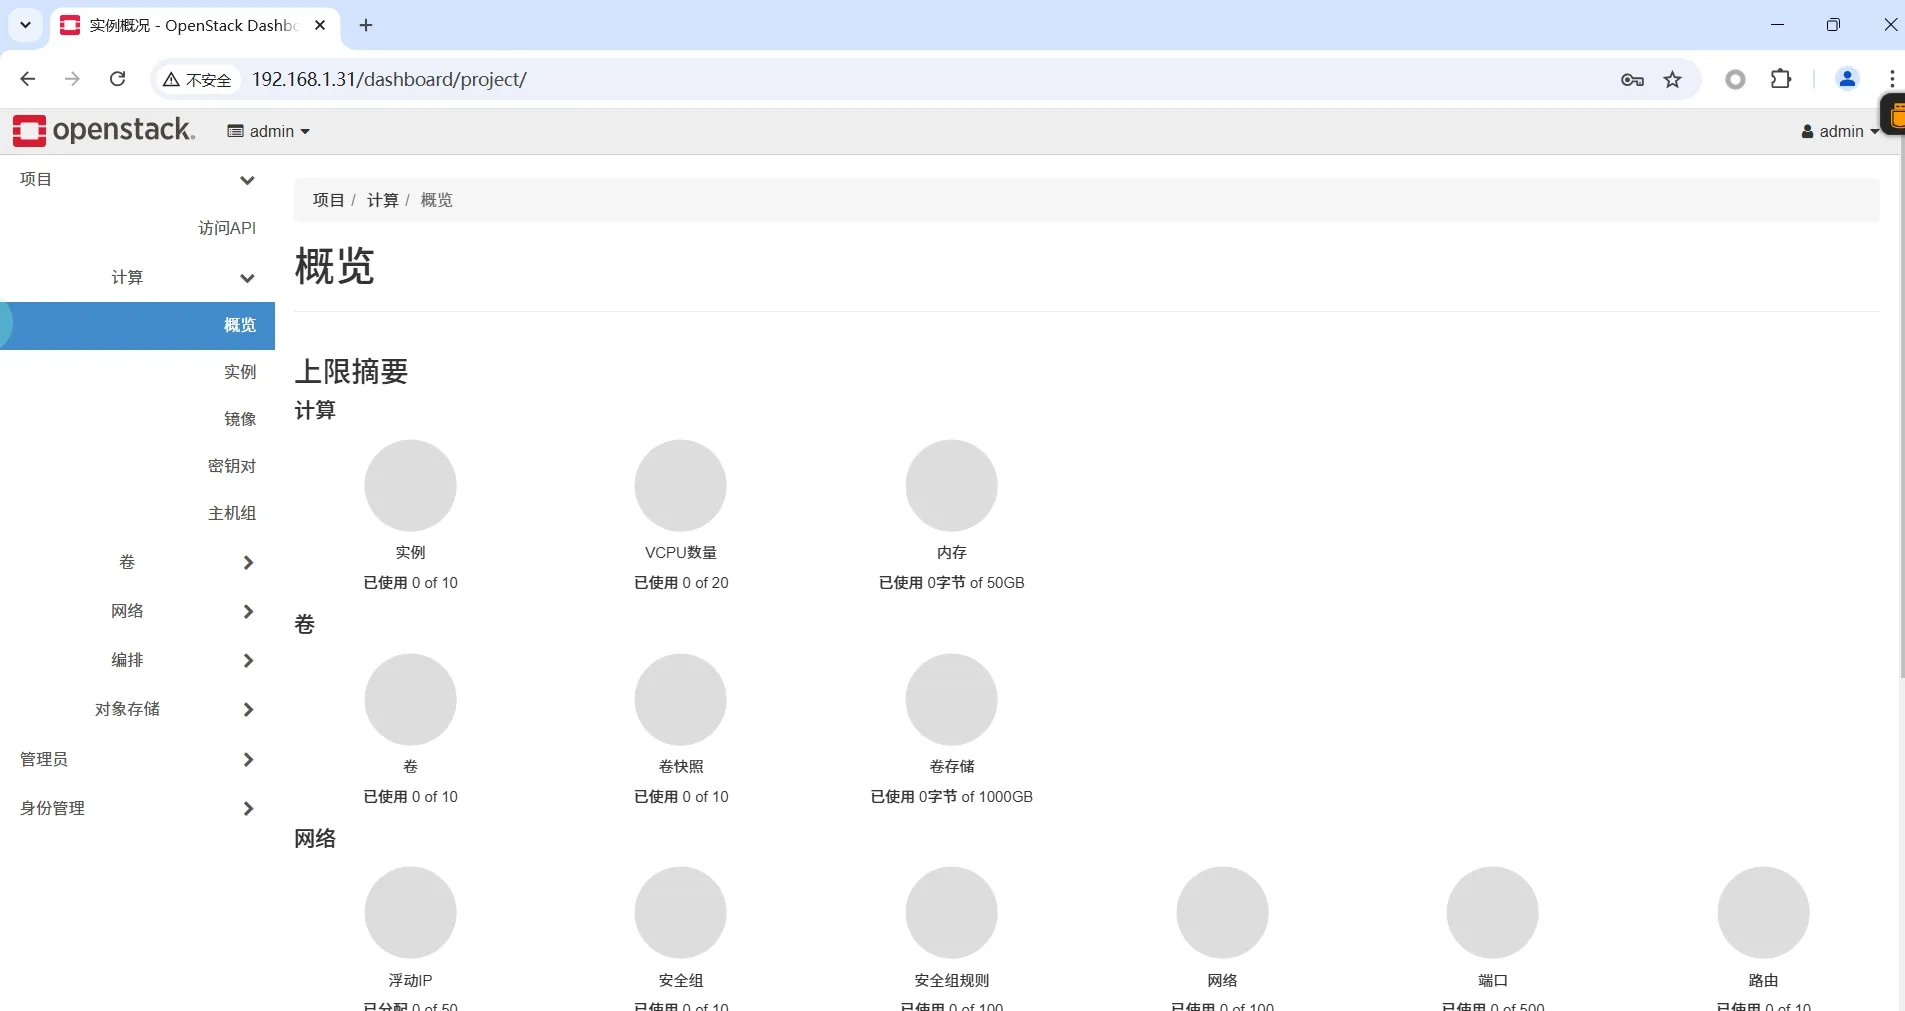
输入登录密码进入页面
评论区